| TIME | COMPLEXITY | COST |
| 2 – 5 weeks | High | $10 – $25 sq. ft. |
Let’s Get Started on Your New Paver Patio Installation!
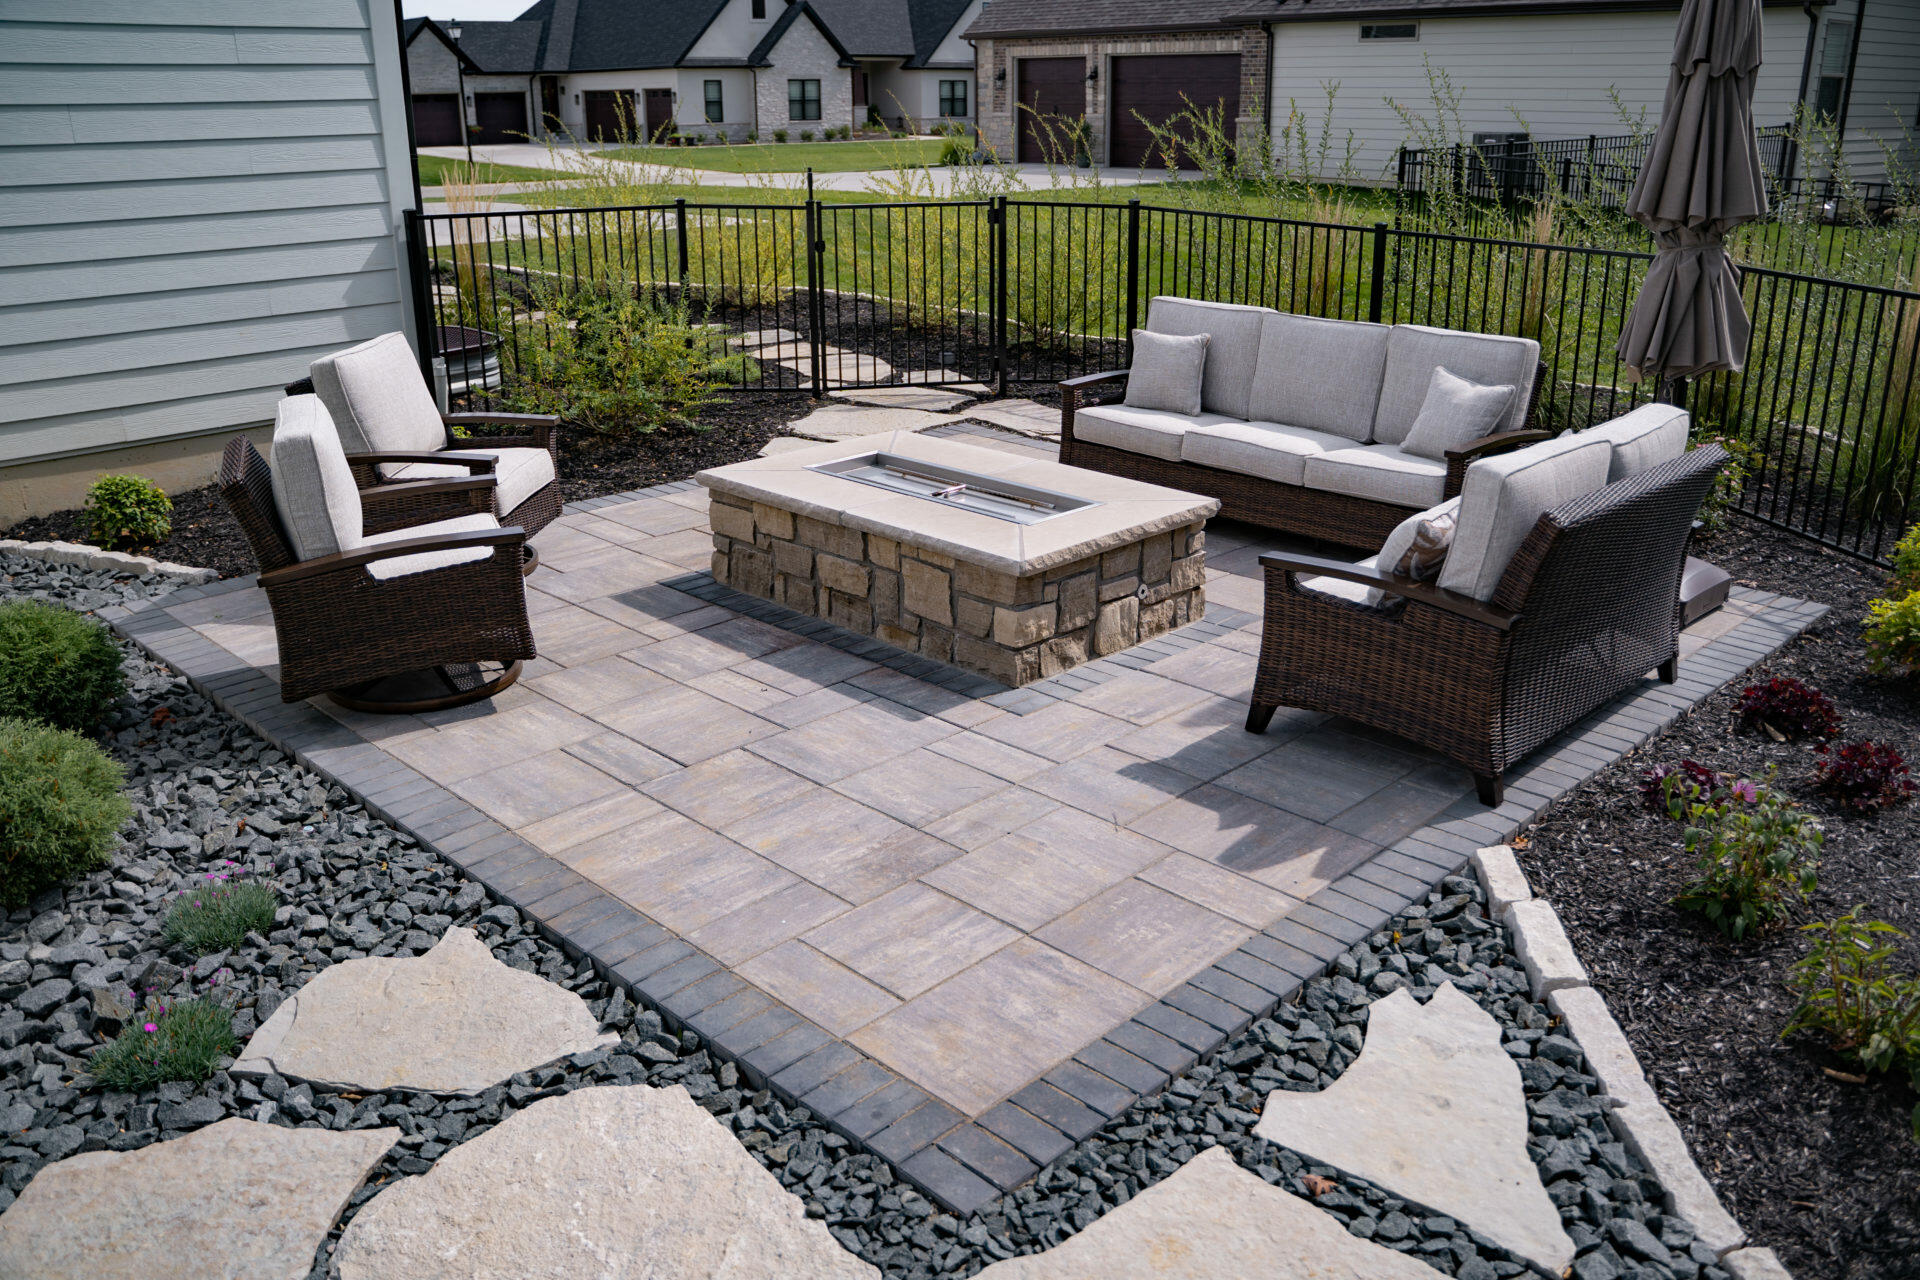
Does your backyard need a facelift? Installing a paver patio will give you that quiet retreat you’ve always wanted, and we’ll show you how to best utilize your backyard space in order to create the perfect outdoor living space for your family! Look through some of the trendiest paver patio designs for inspiration!
Tools required to build a paver patio:
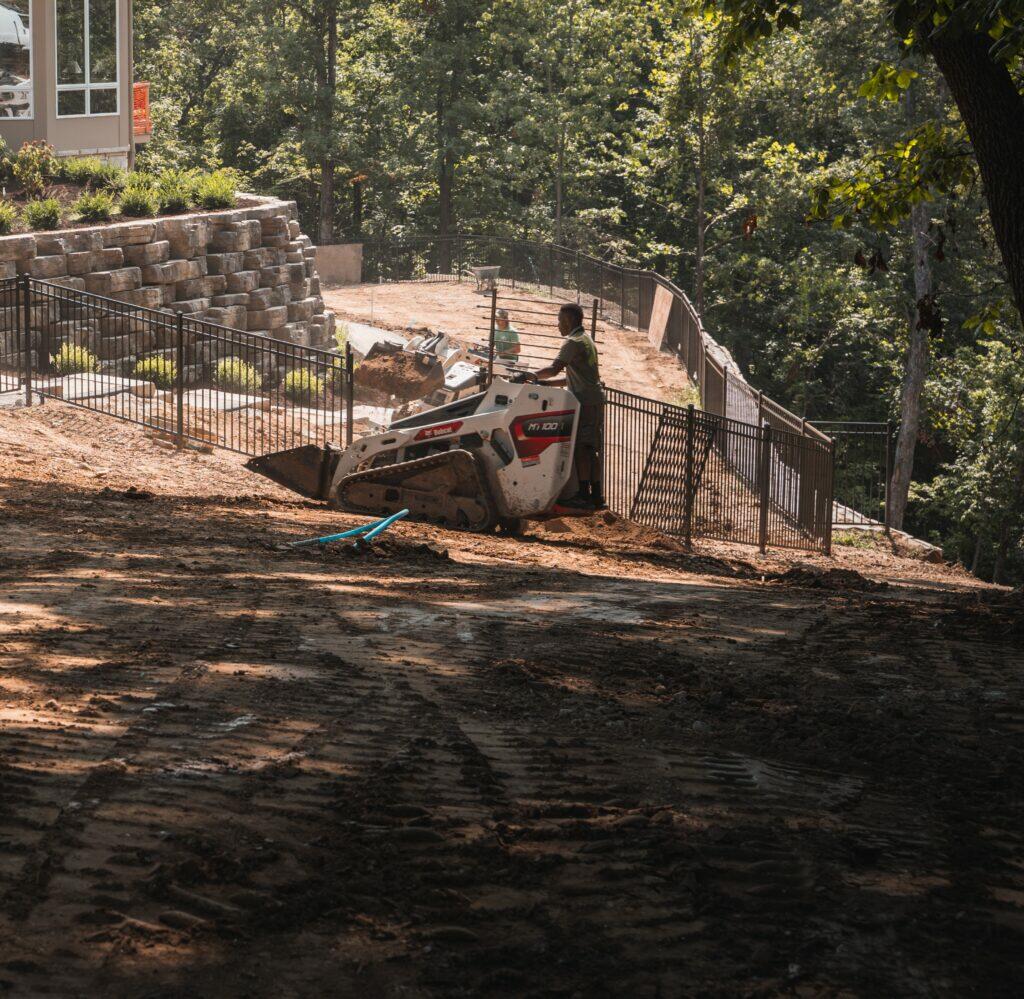
- Mini Track Loader or Skid Steer (depending on the size of the patio, it’s worth the cost to rent one for the day!)
- Shovel (highly recommend Wolverine brand)
- Wheelbarrow
- Rubber Mallet
- Steel Hammer
- Landscaping Rake
- Plate Compactor (you can rent these)
- Circular Saw with Concrete Blade
- Tape Measure
- Grade Stakes
- Mason Line
- Screed Board
- Screed Rails
- Push Broom
Materials required to build a paver patio:
- Brick/Pavers
- 1” clean and ⅜” chips
- Paver sand
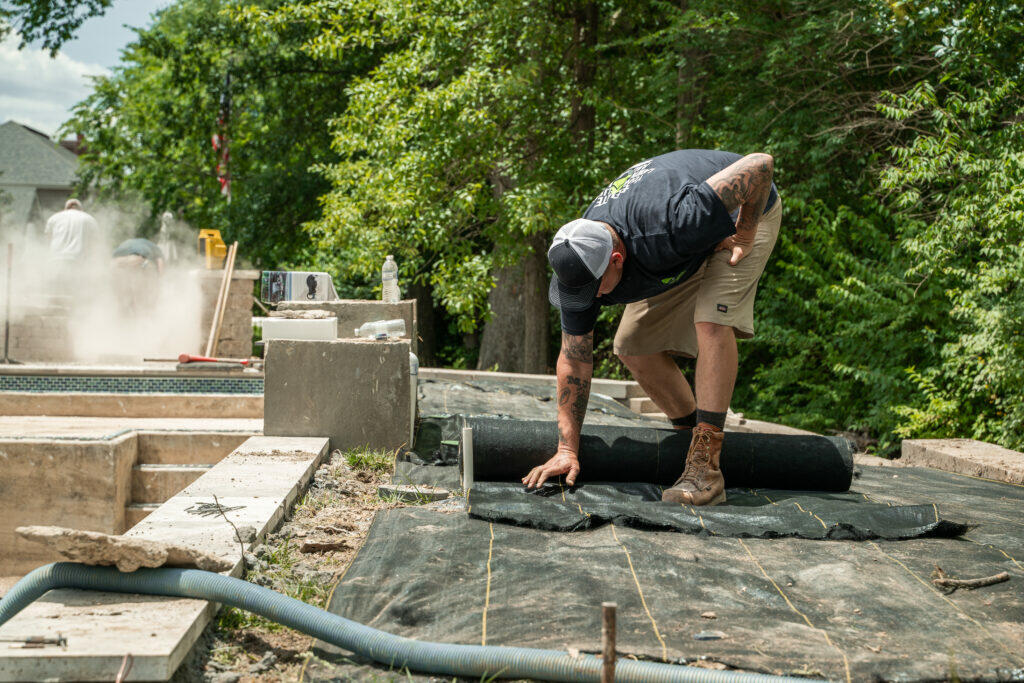
- Soil Fabric
- Polymeric Sand
- Paver Edging or Edging Stones
Step 1: Prepare the Outdoor Space
- Measure the desired patio space in order to determine the square footage of the paver patio.
- Plan accordingly for the number of pavers (pallets of pavers) required along with the quantity of other supplies.
- Using the grade stakes, designate the perimeter of your patio area. Don’t be afraid to play with the shape! A standard square or rectangle is perfect, but there is something unique and beautiful in an organic design shape.
- View some of our hardscapes here for ideas and inspiration.
- Make sure the stakes are just outside of the perimeter of your patio area.
- Using a mason line, attach to each garden stake.
- You now have the outline of your paver patio and can confidently move on to the next step.
Step 2: It’s All About the Layers
- You will need to determine the desired finished elevation of your patio. And the best way to determine this is to start from the closest corner of your home working out toward the yard.
- To keep standing water from wreaking havoc on your beautiful pavers – and potentially causing flooding in your basement – it’s essential to have a negative slope as you move away from the house.
- A good rule of thumb is that you will need a 1″ drop in elevation for every 8 feet of pavers.
- Next, you need to lower your grade stakes and mason line to the appropriate heights – this guarantees that your pavers will subtly slope away from your home.
- Call *811 Call-Before-You-Dig to ensure you are clear of utility lines.
- When you are ready to safely dig, clear the area of grass and dirt – keeping in mind that in the St. Louis area you will be adding approximately 6 inches of gravel before laying down pavers.
- *Pro Tip: Renting a skid steer or mini track loader will help alleviate time and labor; however, be extra careful when operating heavy equipment.)
- Use your grade stakes and mason line as your guide. Keep checking to ensure your area is sloping away from the house and your depth is consistent throughout.
Step 3: Building a Firm Foundation
- Since the foundation is the most crucial part of your build, we recommend renting a vibratory plate compactor.
- Use a tamper tool if you want to cut costs and don’t mind the extra labor, although a plate compactor will achieve much better compaction results.
- Tamp the soil and lay down the soil fabric.
- Pour 1” clean over the fabric, 1” maximum.
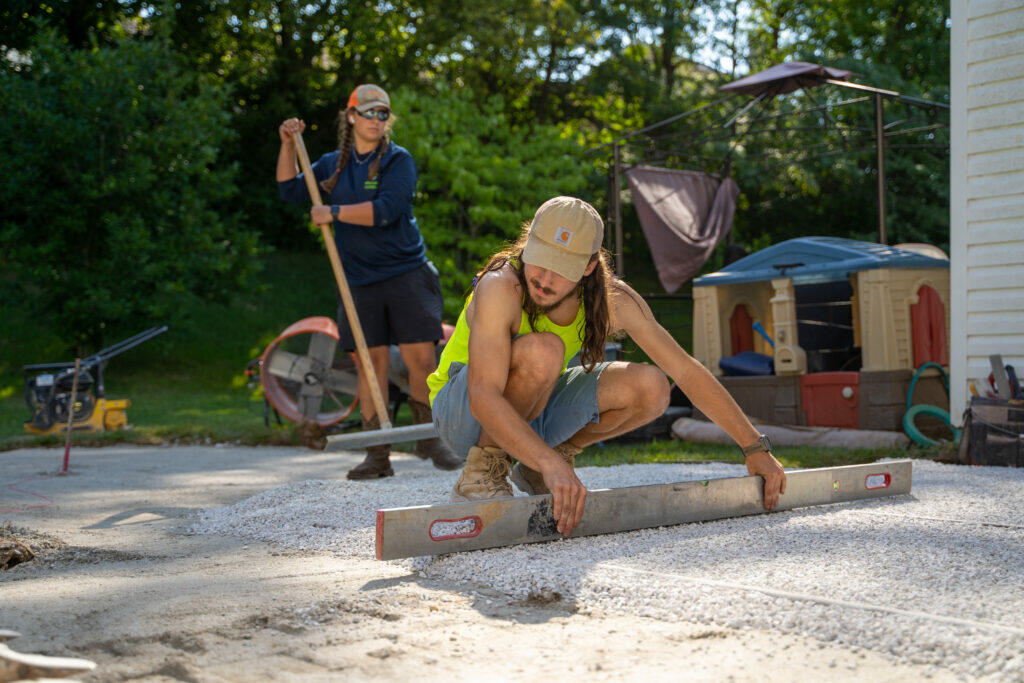
Step 4: Sand and Stone
- Screed the ⅜” chip using a screed board and rails.
- * PRO TIP: Our ICPI certified staff at Elevate Outdoor uses ⅜” limestone chips for the foundation of our paver patios instead of paver sand. While sand is more forgiving, the chips offer a stability, and porosity, that sand cannot.
- Begin this process by working from one end of the patio to the other.
- Be careful not to back yourself into a corner!
- You’ll need 1” of paver sand and you’ll screed it on top of the ⅜” chips.
- Once sand has been screeded, start in the corner closest to your home laying each paver one by one in the design and structure you’ve chosen.
- Here are a few desirable tips to remember:
- Pavers should be placed tightly side-by-side.
- Rest each paver gingerly not to upset the sand layer – avoid dragging across your smooth sand or stomping on stone.
- Paver joints do not necessarily need to line up; instead, staggering joints build interlocking strength and character.
Step 5: Cutting Pavers
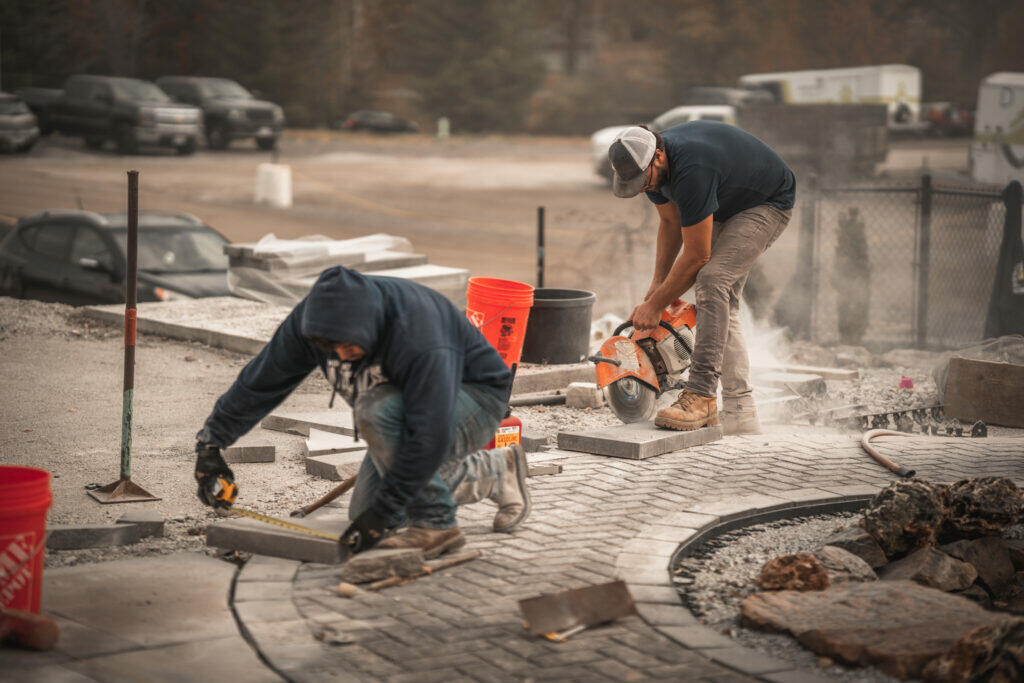
- This step is only necessary if pavers need cutting to fill out your designated patio area.
- With a straight edge and pencil, measure the amount needed.
- Mark your paver and use a masonry saw to make your cut carefully.
- Be sure to protect your eyes and hands with glasses and gloves.
- Press your cut paver into the space – you may want to use a rubber mallet to place it firmly.
- Repeat this step until the patio is complete.
Step 6: A Paver Patio with an Edge
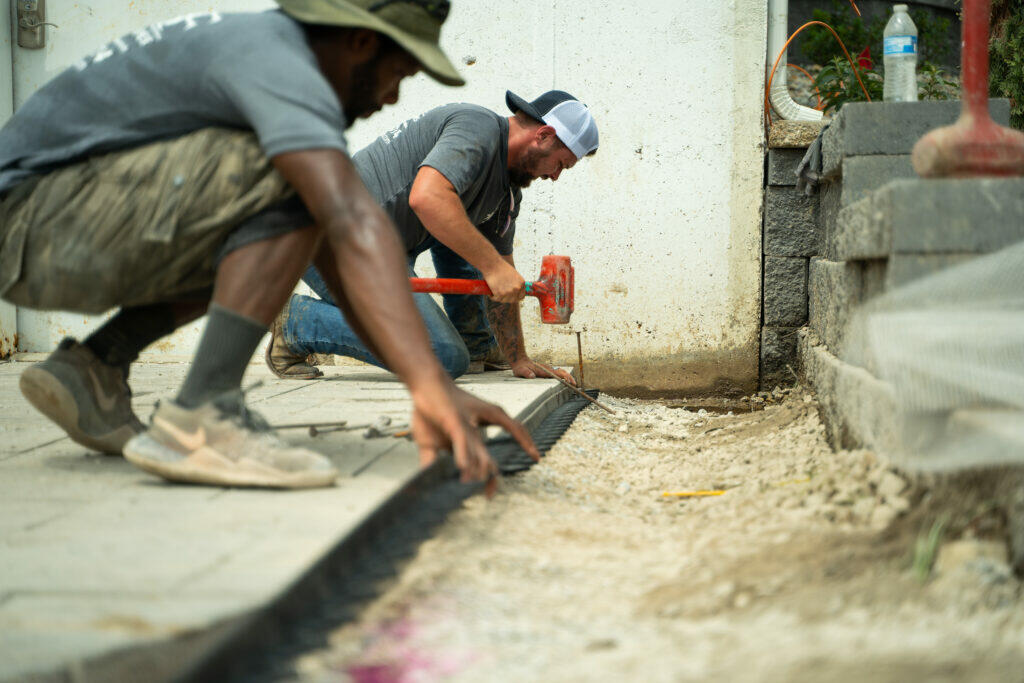
There are two options available to you when edging out your paver patio:
- Edging stones: You can choose an edging stone that compliments your patio. With concrete at the base, place your edging stone tightly around the perimeter of your pavers, while making sure the top edge of the stone edging sits flush with the patio.
- Paver edging restraint: This is a plastic paver edging that surrounds the pavers; it gets staked into the ground and offers a clean line and finishing touch to your patio.
Step 7: The Patio Finish Line
- Prior to beginning this step, it is highly recommended to ensure weather conditions are conducive for polymeric sand. Please read instructions on the bag for these details.
- Dry weather with low winds is necessary so check the forecast before starting this step!
- Pour the sand over the entirety of the patio surface.
- With a push broom, remove any excess sand off the surface of the pavers into the joints.
- Be sure to adhere to proper heights in the joint.
- This depends on the paver you choose:
- For a smooth paver, polymeric sand should fill the joint and be flush with the paver.
- For a paver with depth and variations on top, polymeric sand should sit in the joint about ¼” below the surface of the paver.
- This depends on the paver you choose:
- We highly recommend renting a plate compactor. This allows for the sand to be properly compacted into the joints.
- Sweep clean the surface of the patio
- Wet the surface of the patio with your garden hose – just enough to dampen the surface. Allow enough time to dry, and spray lightly once more.
- Avoid traffic of any kind on the patio for 24-48 hours.
Your outdoor living space will never be the same because of this creative and quiet landscape retreat! Our experts at Elevate Outdoor are certified builders and designers. We would be happy to help you create the perfect design and build a space that takes your breath away – contact us for your FREE QUOTE! If you’re interested in all the things that go into creating the perfect paver patio for your space, check out our cost breakdown so you’ll be prepared for this project!